How to add a user to multiple Jira projects at once
Add a user to multiple Jira projects at once: put users or groups into a project role across many projects with Bulker, or automate it with a rule.
A new developer starts on Monday. She needs the Developers role in every project her team touches — thirty of them. In Jira Cloud, to add a user to multiple Jira projects you open each project, going to Project settings → People, searching her name, picking the role, saving, and moving on to the next project. Thirty times. And when a whole team joins, or a group needs read access everywhere, the same clicks start over.
This guide shows how to do it in one run with the Bulk Add Users/Groups tab of Bulker, what Jira does and doesn't allow, how the result and the operation log look, and how the matching Jira Automation action adds people to roles without anyone opening Bulker at all.
What the Bulk Add Users/Groups tab does
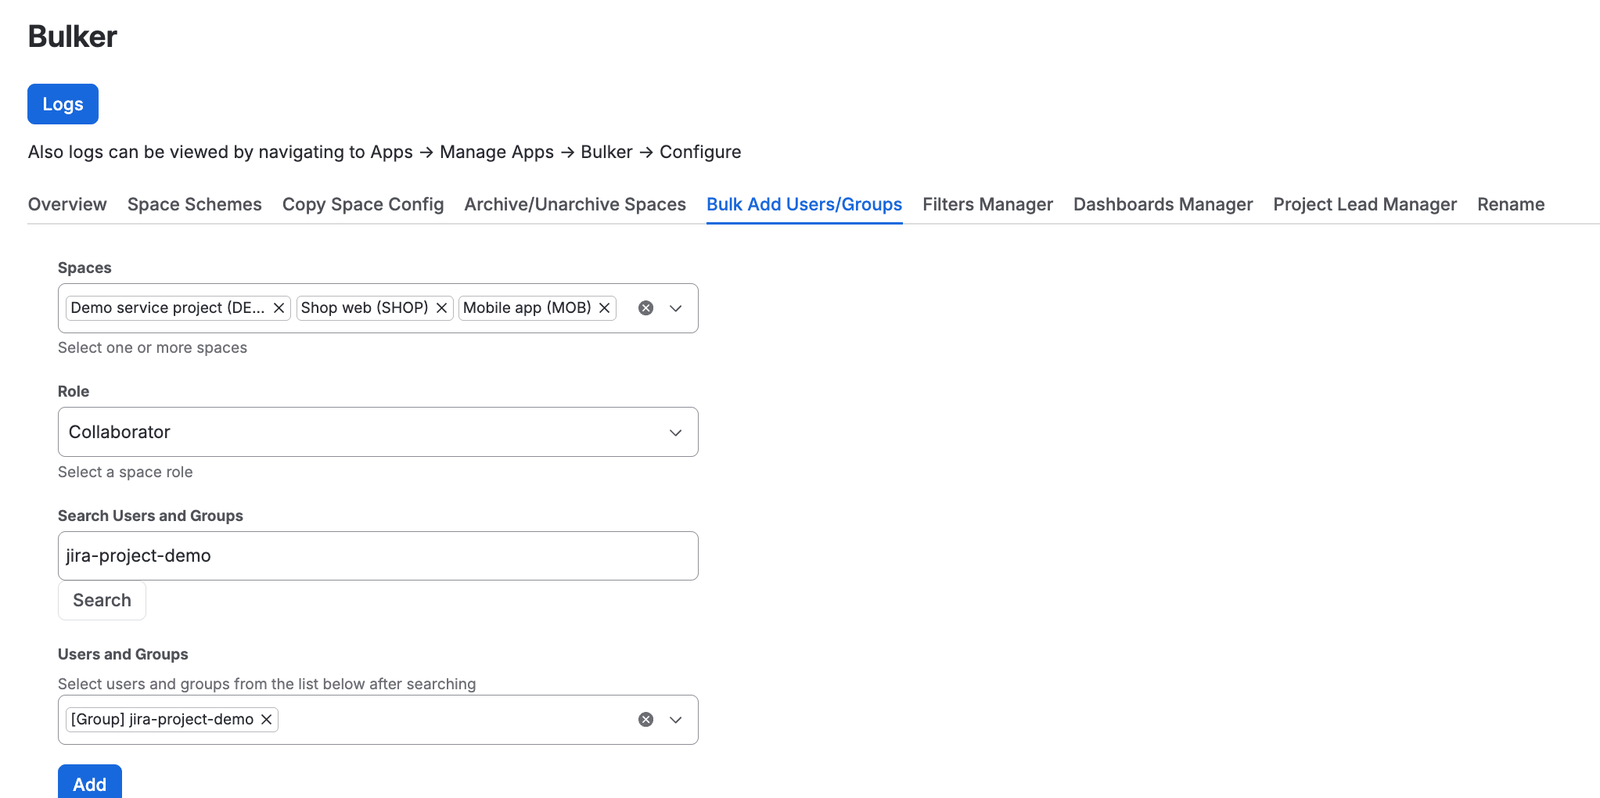
Projects, role, users or groups, then Add
The tab takes three things — a set of projects, one project role, and a list of users and groups — and adds every selected user and group to that role in every selected project. Each person-and-project pair is one request to Jira, so a failure in one project never stops the others.
A few things are worth knowing before you start:
- Bulker calls projects "spaces". The project picker is labelled Spaces throughout the app.
- Only company-managed, non-archived projects are listed. Team-managed projects have their own access model and don't appear in the picker.
- The role list holds global project roles only. In Jira Cloud a project role such as Developers or Administrators is defined once for the whole site and exists in every company-managed project, so Bulker matches the role by its ID — the same role lands in every project you tick. Jira's internal
atlassian-addons-project-accessrole is hidden. - The tab adds; it does not remove. There is no bulk-remove option in this tab. Taking someone out of a role is still done per project in Jira.
How to add users or groups to a Jira project role in bulk
Open Settings → Apps → Bulker and switch to the Bulk Add Users/Groups tab.
Step 1 — Pick the spaces
Under Spaces, tick the projects. The field is a multi-select with search, and the helper text says it plainly: Select one or more spaces. Each entry shows the project name and key, for example Web Shop (WEB).
Step 2 — Pick the role
Under Role, choose one project role — Select a space role. One run handles one role. If a person needs two roles, run the tab twice.
Step 3 — Find the users and groups
Type a name, an email address or a group name into Search Users and Groups (the field reads Enter name, email or group…) and press Search. Bulker asks Jira's combined user-and-group picker and returns up to 20 users and 20 groups that match.
Results appear in the Users and Groups list, each tagged with its type: [User] Jane Doe or [Group] jira-developers. Tick the ones you want. You can search again with a different term — earlier picks stay selected while the new results replace the list below.
If a user's profile hides their name through Atlassian's privacy settings, the list shows their account ID instead.
Step 4 — Press Add
Press Add. Bulker goes through every space and, inside each one, through every selected user and group, sending one request per pair. While it works the button reads Processing…. If you forgot a field, Bulker tells you before anything is sent: Please select spaces, role, and at least one user or group.
Groups are sent to Jira by their group ID rather than by name wherever the picker supplied one, so a later group rename doesn't affect what was assigned. When Jira is rate-limiting or answers with a temporary error, Bulker retries the request on its own.
What the result looks like
Under Status: you get one line per user or group per space:
user Jane Doe - 5b10ac8d82e05b22cc7d4ef5 added to role Developers (10001) in space 'Web Shop'.
group jira-developers added to role Developers (10001) in space 'Mobile App'.
Lines Jira refused are shown in red and read NOT ADDED, followed by the reason:
user Jane Doe - 5b10ac8d82e05b22cc7d4ef5 NOT ADDED to role Developers (10001): <Jira's reason> in space 'API Gateway'.
Three people in thirty projects produce ninety lines, so scan for NOT ADDED rather than reading top to bottom.
The number in brackets after the role name is the role ID — you'll need it for the automation action below.
When Jira says no
Bulker shows Jira's own explanation whenever Jira sends one — for example when a plan restriction prevents adding people to roles in a project. If Jira rejects the request with a bare "bad request" and no text of its own, Bulker falls back to the most common cause: Actor may already be in this role for this project. Adding someone who is already in the role is harmless either way — nothing changes, and the other spaces still go through.
What the Logs show
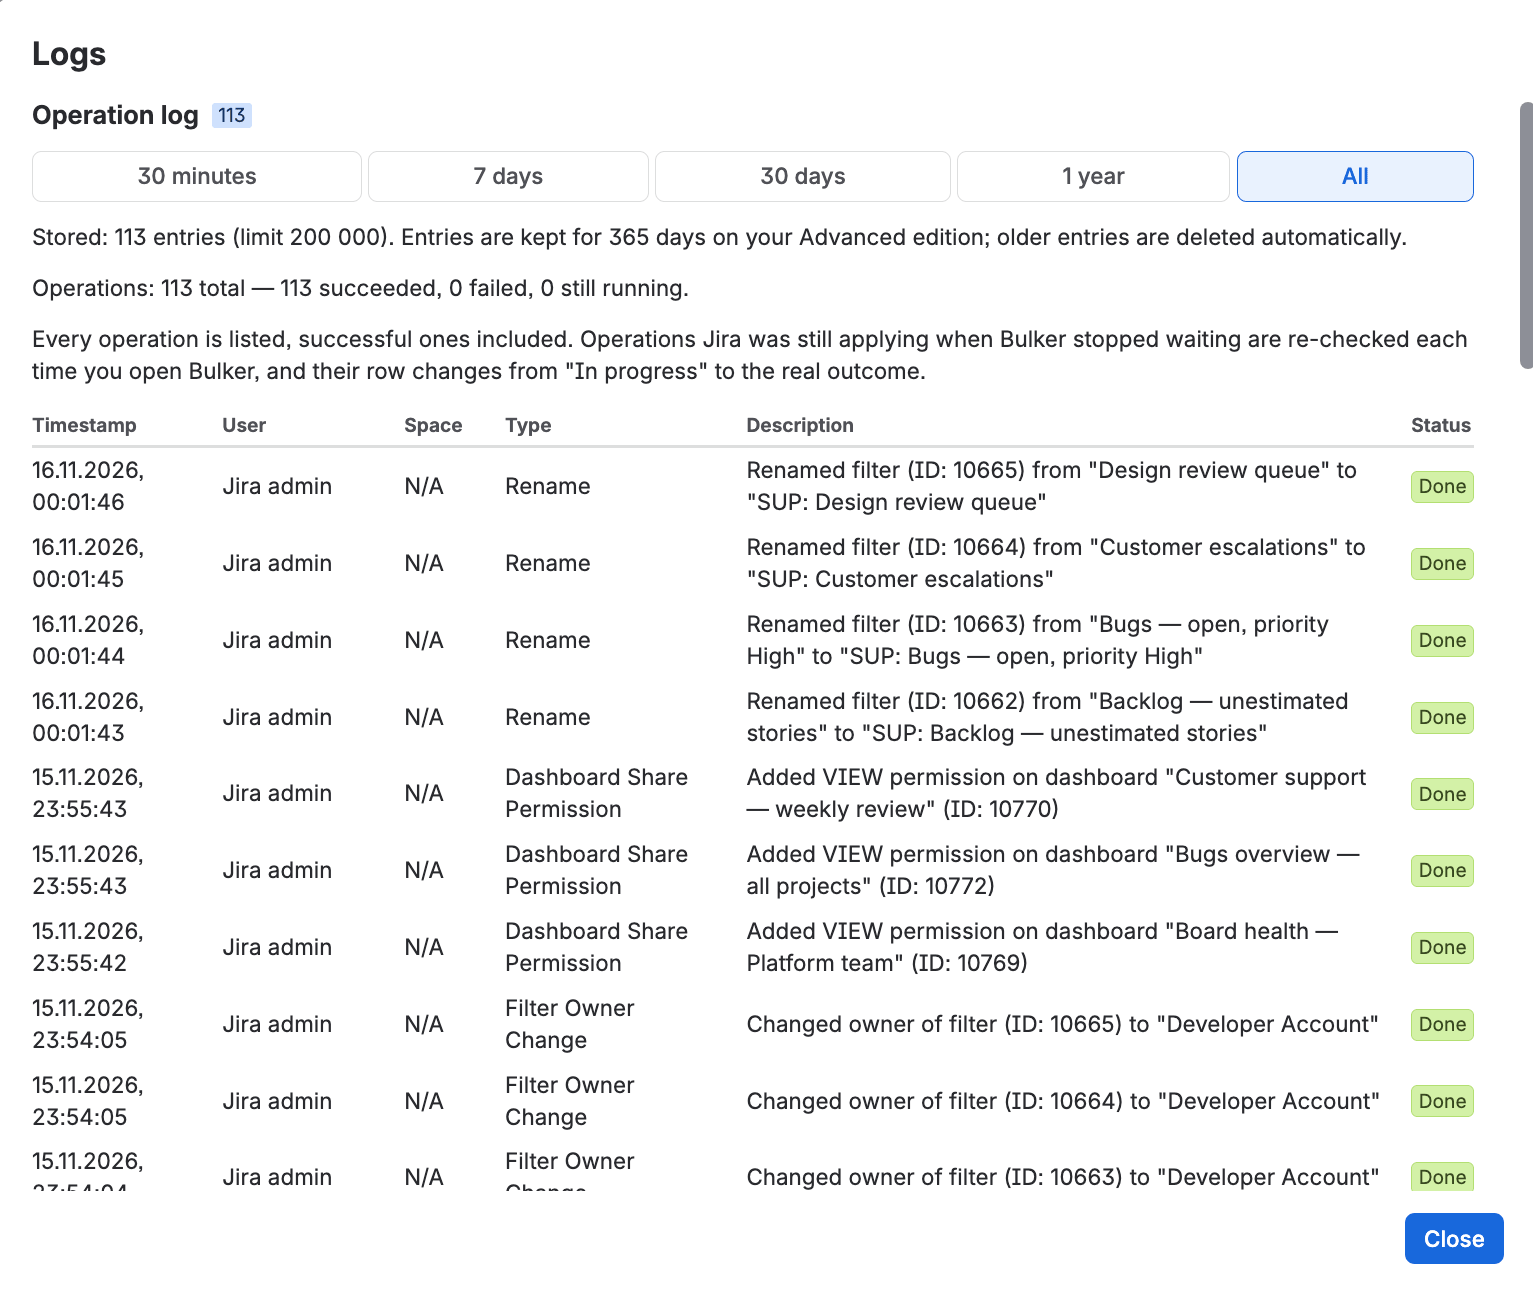
Every run, successful ones included, with Jira's answer
The Logs button in the top-right corner opens Bulker's operation log; the same log is available via Apps → Manage apps → Bulker → Configure. Every user-and-space pair becomes one row:
| Column | What you see |
|---|---|
| Timestamp | When the request was made |
| User | The admin who ran the operation |
| Space | Project name and key, e.g. Web Shop (WEB) |
| Type | Bulk Add Actors |
| Description | user Jane Doe added to role 'Developers' — or NOT ADDED … with Jira's reason |
| Status | Done or Failed |
Above the table a summary line keeps the totals: Operations: N total — X succeeded, Y failed. Every operation is listed, successful ones included. One operation stores up to 2,000 rows in detail; anything beyond that is folded into a single line — N more results of the same operation were not stored in detail — so a big run can't push older history out of the log. Entries are kept for 45 days on the Standard edition and 365 days on the Advanced edition, and 7 days during the trial.
NOTE: Runs of the automation action described next appear on the Logs page too, with a Type that starts with "Automation:" and the rule actor as the user.
Automate it: the "Add Users to Project Role" action
The tab is for the day someone joins. For the ongoing case — an access-request ticket, a recurring onboarding flow — Bulker adds a Jira Automation action named Add Users to Project Role. It is available in the Advanced edition; on a Standard edition the rule fails with the message Automation features are available only in the Advanced edition. Please upgrade to Advanced edition to use automation actions. During a trial the action is enabled with a cap of 5 runs per day.
The action has three text fields, each accepting plain values or smart values:
| Field | What goes in |
|---|---|
| Users | Account IDs, comma-separated, or a smart value such as {{issue.assignee.accountId}} — a smart value that returns several users also works |
| Projects | Project keys or IDs, comma-separated, or {{issue.project.key}} |
| Role | One or more role IDs, comma-separated, e.g. 10085, 10002 |
Unlike the tab, the action takes users only — groups cannot be passed. It runs with the permissions of the rule actor, and before touching any project it checks that every role ID exists; an unknown ID stops the rule with Role with ID "…" does not exist so that nothing is half-applied. Role IDs differ between Jira sites — take yours from the brackets in the Bulk Add Users/Groups result line, as shown above.
Example rule: access request → role in three projects
- Trigger: Issue transitioned to Approved in your access-request project. The request ticket is assigned to the person who needs the access.
- Condition: Issue type equals Access request.
- Action: Add Users to Project Role with Users =
{{issue.assignee.accountId}}, Projects =WEB, API, MOBILE, Role =10001.
When every request succeeds the rule's audit log records Successfully added 1 user(s) to 1 role(s) in 3 project(s). If any project refuses, the action reports each failed combination as an error with the project key and Jira's reason — for example a permission denied, or a role that doesn't exist in that project.
Limits during the trial
The trial evaluates the same features with caps per operation: in the Bulk Add Users/Groups tab, 10 users or groups and 5 spaces per run. Exceeding them shows a message before anything is sent — Trial limitation: You can only process 10 users/groups per operation. Please reduce your selection or purchase a license for unlimited access. — and the same wording with 5 projects for the space limit. Across the whole app a trial allows 20 operations per day and 100 in total, and automation actions 5 runs per day. A paid licence removes all of these caps.
FAQ
How do I add a user to multiple Jira projects at once?
In Settings → Apps → Bulker → Bulk Add Users/Groups, tick the projects under Spaces, pick a Role, search for the person under Search Users and Groups, tick them in Users and Groups and press Add. Bulker adds them to that role in every ticked project and lists the result per project.
How do I add a group to all Jira projects?
Search the group name under Search Users and Groups, tick the [Group] entry, select every space in the Spaces list and press Add. The picker lists company-managed, non-archived projects only, so team-managed projects stay out of the run.
Can Bulker remove users from project roles in bulk?
No. The Bulk Add Users/Groups tab and the automation action only add users and groups to a role. Removing someone from a role is still done per project in Jira's project settings.
Can I add users to roles in team-managed projects in bulk?
No. The Spaces picker lists company-managed projects that are not archived. Team-managed projects use their own access model and are not offered.
What happens if the user is already in the role?
Nothing changes for that project. Jira rejects the duplicate, and Bulker shows the line in red as NOT ADDED with Jira's reason — or, when Jira sends no text, Actor may already be in this role for this project. The remaining projects are still processed.
How do I find the role ID for the automation action?
Run the Bulk Add Users/Groups tab once with that role: every result line names the role with its ID in brackets, for example added to role Developers (10001). Role IDs differ between Jira sites, so don't copy them from another instance.
Can the automation action add groups to a role?
No. The Add Users to Project Role action accepts user account IDs only — typed in or from smart values such as {{issue.assignee.accountId}}. For groups, use the Bulk Add Users/Groups tab.
Try Bulker
Bulker takes the repetitive side of Jira administration off your hands — roles, schemes, project leads, archiving and renaming. For the wider picture, see Bulk Jira admin: how to save 3 hours a week; for the fixes that made the role messages show Jira's real reason, the Bulker release notes — September 2026.
More guides in this series: